I am now on Day 16 of the Carnivore Challenge*. I sometimes feel that referring to it as a ‘challenge’ is slightly disingenuous on my part, when I have been consuming baked salmon for breakfast everyday this week – the Extra Special ADSA kind. The hardest part so far has been giving up tea, which makes me feel more quintessentially British than ever. Seeing as I only crave things that are bad for me, I’m wondering exactly what the addictive substance it is in tea that I am missing: is it the caffeine (although I even miss decaffeinated) or the milk I used to put in it? I tried to use homemade stock as a replacement but it didn’t quite hit the same spot.
With so few ingredients on a Carnivore Diet to mask a lack of culinary technique, I was forced to hone mine. First on the agenda was learning how to spatchcock a chicken. I have laid out my method below.
Benefits of Spatchcocking
Now, why would you go to the trouble of removing a chicken’s spine? Primarily for two reasons:
- It levels out the bird making it easier to grill as it cooks more evenly.
- If you are roasting it in an oven, it can halve the cooking time (the bird I used should have taken 1 ½ hours, but instead it took 50 minutes to roast).
Top Tips for Making the Skin Extra Crispy
- Dry brine it overnight – This is where you cover it in sea salt and let it dehydrate for several hours. The greatest enemy to crispiness is moisture. If you don’t have time to dry brine it, you can skip this step. I find the biggest factor in making skin turn crispy is the heat it’s exposed to: the hotter it is, the crispier it will be. However, this has to be balanced against not wanting to dry out the meat.
- Cook it on a wire rack – Normally, to crisp up the underside of meat, you would have to drain off it’s fat. However, when it comes to low carb cooking, the name of the game is to get in as much healthy fat as possible; therefore, ‘draining’ it off would be a waste. I place my chicken on a wire rack so the underside doesn’t soak in its own fat whilst cooking. This allows it to be exposed to dry heat so it can crisp up. I then place the wire rack over a casserole dish which collects the fat. I then put the fat into a small serving bowl and use it as a ‘dip’ for the chicken meat.
*Seeing as there are many iterations of the Carnivore Challenge, I thought I would define my version of it. I am eating only beef, lamb, chicken, fish, seafood, offal, salt and the benign herb thyme. I noticed pretty early on in this experiment that I had difficulty tolerating eggs and pork, so I have since dispensed with them, as well as pepper. I am consuming no dairy, no spices and no coffee or tea.

Ingredients
1 free range whole chicken
some sea salt
Special equipment
Oven Model: Beko BA52NEW
Shelf level: 4
Gas Mark: Between 8 and 9 for preheating, turned down to 8 for cooking**
**The fact the model’s name has NEW in its title is a sweet, sweet irony as my oven has been brought back from the brink 6 times by the landlord, and even when he bought it, it was pre-owned. Needless to say, it’s about ready to cark it. So whereas, Gas Mark 8 would normally be 230 degrees C, it’s probably a lot closer to 200 degrees C. For a gas oven, you should normally use shelf levels 1 and 2 for roasting (those at the bottom), but in my temperamental oven, shelf 4 works better.
- Preheat the oven to the temperature laid out previously. However, the correct heat setting varies massively from oven to oven, so it’s important to get ‘in tune’ with yours for best results.
- Sharpen your kitchen knife or you can use a pair of good kitchen shears. The younger the bird, the easier it will be to cut through it.
- Place the bird on a chopping board with its breast touching the board and its parson’s nose facing you. The parson’s nose looks like the chicken’s little tail.
- Cut down either side of the parson’s nose using a knife or shears in order to remove its spine.


5. If you were to turn the bird over, it wouldn’t quite be lying flush with the board, so in order to make it lie flat, you need to make an incision in the breast-bone. Simply cut across the blue line in the picture below.


6. Turn the bird over, skin-side up – I always feel at this point that it looks like a voluptuous woman. You then want to loosen the skin by working your fingers between the skin and the meat until it comes away as depicted below.

7. In order to make the bird really crispy, you can dry brine it overnight. This means putting salt underneath the skin (onto the meat) and on top of the skin. It will dehydrate the skin and the less moisture in the skin, the crispier it will be.

8. I place my chicken on a wire rack breast-side up so the underside doesn’t soak in its own fat whilst cooking, as unless it’s exposed to dry heat, the underside will have difficulty crisping up. I place the chicken and rack over a glass casserole dish to catch the drippings.
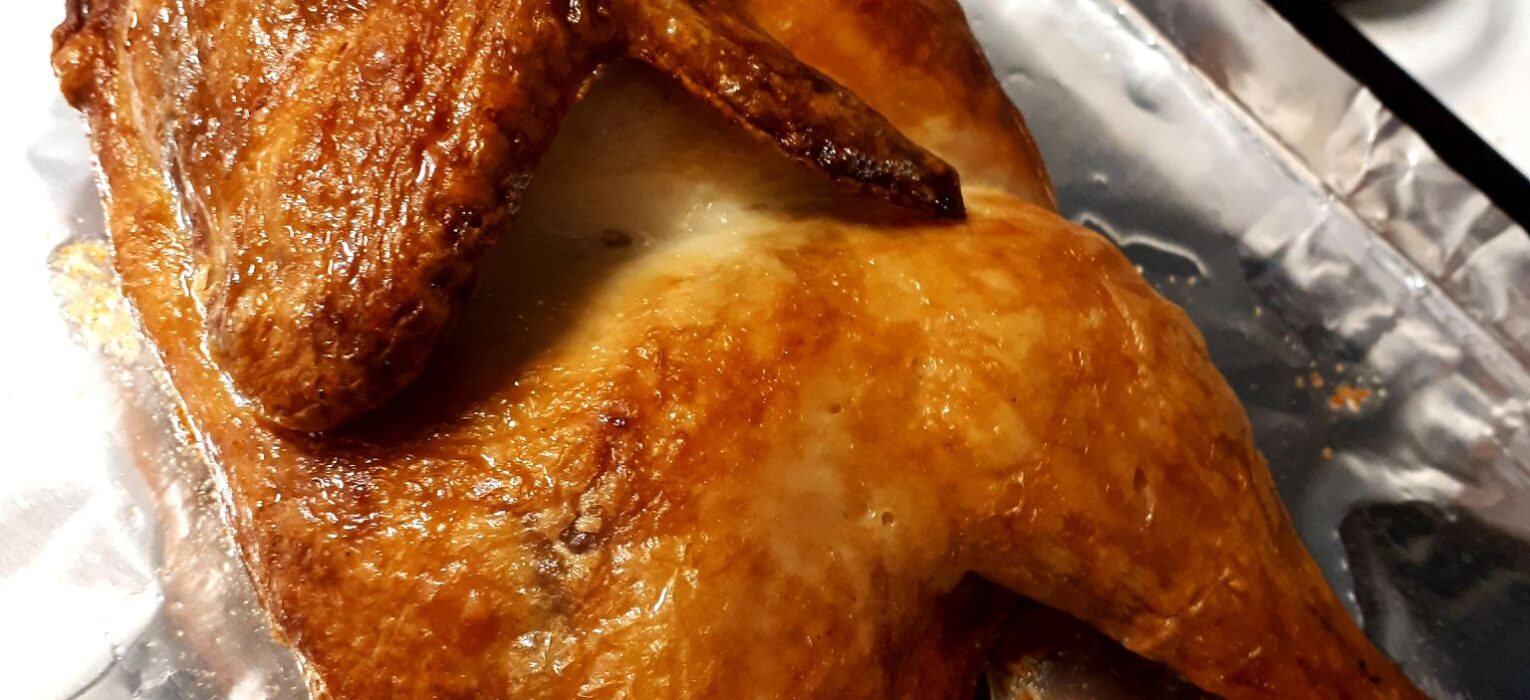
9. I roasted the chicken for 50 minutes, turning the chicken round 180 degrees halfway through its roasting time so that each side will be cooked evenly.
10. I then let it rest for 15 minutes, and serve it with the chicken drippings that have collected in the casserole as a sort of ‘dip’.
